 |
|
|
|
|||||||||||||||||||||||||||||||||||||||||||||||||


| Shipping
of police laser gun jammers to the following states and country's: AL Alabama
AK Alaska AS American Samoa AZ Arizona AR Arkansas CA CZ Canal Zone CO Colorado
CT Connecticut DE Delaware DC District of Columbia FL Florida GA Georgia
GU Guam HI Hawaii ID Idaho IL Illinois IN Indiana IA Iowa KS Kansas KY Kentucky
LA Louisiana ME Maine MP Mariana Islands MD Maryland MA Massachusetts MI
Michigan MN Minnesota MS Mississippi MO Missouri MT Montana NE Nebraska
NV Nevada NH New Hampshire NJ New Jersey NM New Mexico NY New York NYC New
York City NC North Carolina ND North Dakota OH Ohio OK Oklahoma OR Oregon
PA Pennsylvania PR Puerto Rico RI Rhode Island SC South Carolina SD South
Dakota TN Tennessee TX Texas UT Utah VT Vermont VI Virgin Islands VA Virginia
WA Washington WV West Virginia WI Wisconsin WY Wyoming CA Canada SA South
America NA North America CL Chile Brazil Costa Rica Argentina |
|
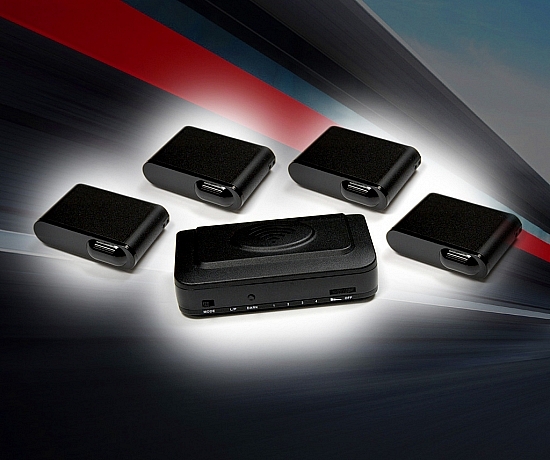
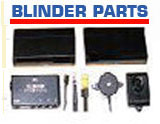
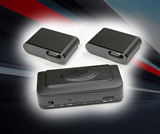
| HOME | BLINDER X-TREME | TECHNOLOGY | SUPPORT | TEST RESULTS | INSTALLATION | PARTS | RADAR DETECTORS | ANTI PHOTO | BLINDER M25 | BLINDER M45 | BLINDER M27 | BLINDER M47 | POLICE LASE GUN | LASER JAMMERS | RETURN POLICY | CONTACT | VIEW CART | HP-905 DUAL | HP-905 TRIPLE | HP-905 QUAD | |
|
© 2019 BLINDER.NET ALL RIGHTS RESERVED.
|